—
# Elevate Your Dropshipping Game: Top Tools to Create Professional Product Images
In the fast-paced world of dropshipping, first impressions are crucial. Your product images can make or break a sale. So, how do you transform those basic AliExpress snapshots into eye-catching visuals that convert? Let’s dive into the essential tools and tips that can help elevate your product photography and set your store apart.
## Why Quality Product Images Matter
Before we delve into the tools, it’s important to understand why quality images are a must. In the crowded e-commerce landscape, visuals significantly impact buyer decisions. Crisp, professional images not only draw attention but also build trust and convey the value of your product. The better your image quality, the more likely your customers are to perceive your store as credible and your products as high-quality.
## The Must-Have Tools for Stunning Images
### 1. **Photo Editing Software**
A good photo editing tool is essential. Here are some popular choices:
– **Adobe Photoshop**: A classic choice, Photoshop offers advanced features for detailed editing.
– **Canva**: Perfect for beginners, Canva provides easy-to-use templates and design tools.
– **GIMP**: A free alternative to Photoshop, GIMP offers a range of powerful editing features without the cost.
### 2. **Background Removal Tools**
A clutter-free background makes your product stand out. Consider these tools:
– **Remove.bg**: Quickly removes backgrounds with AI-driven precision.
– **Clipping Magic**: Offers easy drag-and-drop features to isolate your product.
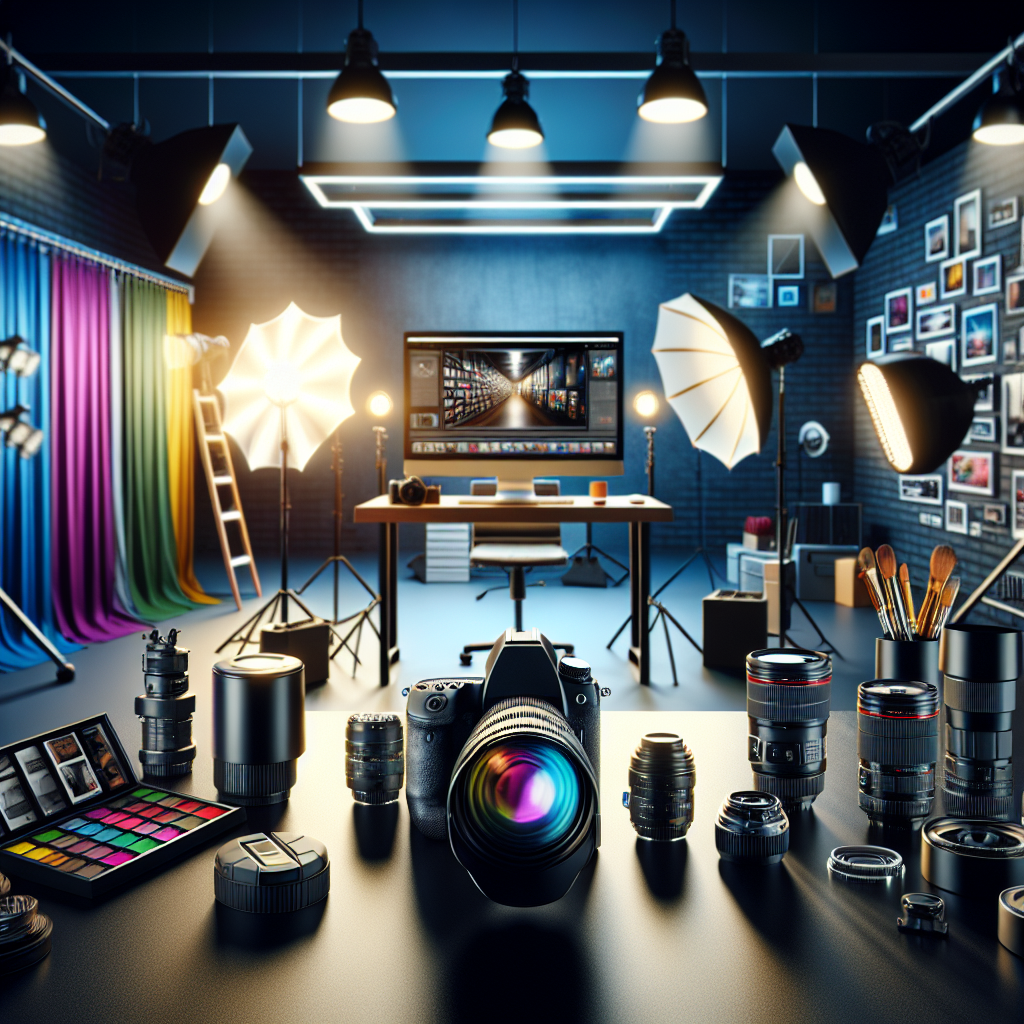
### 3. **Lighting Equipment**
Great lighting is half the battle. While natural light can work wonders, investing in some basic equipment can transform your product shots:
– **Ring Lights**: Provide consistent and adjustable lighting.
– **Lightbox Kits**: Ideal for smaller products, providing an all-around light source eliminating harsh shadows.
## Workflow Tips for Professional Shots
Even with the best tools in hand, a solid workflow is crucial. Here’s how you can streamline your process:
1. **Plan Your Shoot**: Decide on the style and mood of your photos beforehand. This includes backdrop color, angles, and any props or additional elements.
2. **Shoot Multiple Angles**: Capture your product from different angles to provide a comprehensive view. This helps customers better understand what they are buying.
3. **Consistency is Key**: Maintain a consistent style across all images. This coherency builds your brand identity and makes your store more visually appealing.
4. **Edit with Precision**: Use your editing tools to enhance colors, adjust lighting, and touch up any imperfections. Aim for natural rather than over-edited images.
5. **Test Before Uploading**: Review the images on different devices to ensure they look good whether on a phone, tablet, or desktop.
## Before and After: The Power of Editing
Transformative editing can elevate an image from mundane to magnificent. While individual tools and techniques can vary, the end goal is to present a product that entices and excites potential buyers. Before hitting publish, consider showing before-and-after images to gather feedback and ensure your images are effective.
### Conclusion
Creating professional product images doesn’t require a full photography studio. With the right tools and a clear workflow, anyone can enhance their product visuals to drive higher engagement and sales. Remember, your store’s success is often just one click away, so make sure those clicks count. Happy editing!
Be sure to experiment with different tools and find what works best for your style and brand identity. Your product images are your store’s first handshake with potential customers—make it count!
 Trend Engine: AI-Powered News & Trends